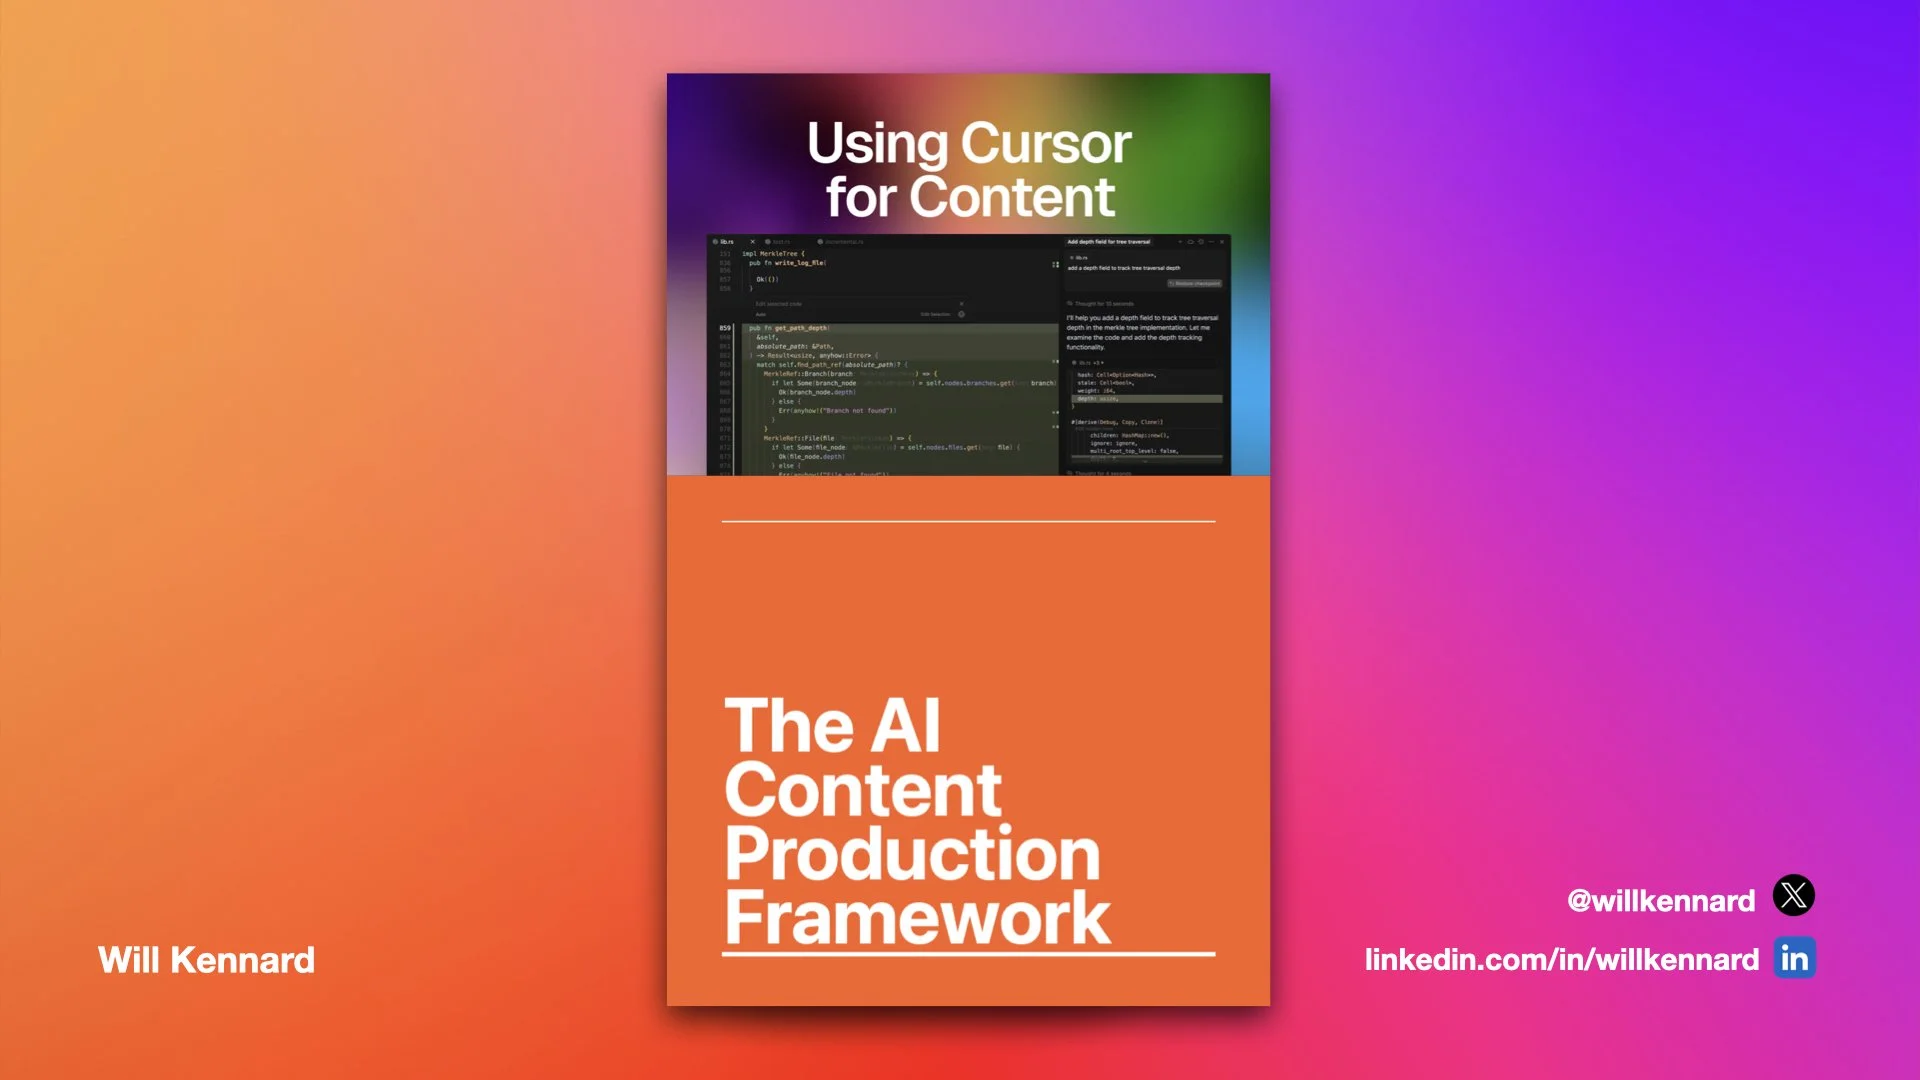
Produce Consistent AI Content Using Cursor
AI tools are changing how we create and publish, but scattered workflows, inconsistencies and corner-cutting hold most teams back and end up producing sub-par content.
This guide introduces the Integrated Content Environment (ICE) - a practical process for research, writing, and organising content inside a single workspace.
It shows you how to combine AI assistance with human judgement, giving you a clear, repeatable process that keeps your content consistent, efficient, and grounded in expertise.
To get the guide as a downloadable PDF with extra helpful images, whilst helping me build my mailing list, stick your details in here. Alternatively, just read on for the same info for free.
By subscribing you agree to receive marketing emails from me. I will never share your details with third parties.
Introduction
The way we create content is of course changing.
For a long time, writing tools were little more than blank documents, but today they are increasingly influenced by artificial intelligence.
I believe this means moving beyond typing into a single file, and instead working in environments where AI can support research, structure, and editing in a way that both benefits the business and the end user - whilst still allowing human creativity.
This shift is not about letting AI take over and automate all your content. Anyone with half a brain can see through pure AI content, and it’s dull. We don’t want to pollute the internet with more dull content.
Instead, it’s about giving AI the right context, and then using it to enhance your work. AI can reduce friction and help you produce clearer, more consistent work across multiple pieces.
To do this well, creators need to think less about isolated documents and more about connected projects.
Just as developers use integrated development environments (IDE’s) to manage code, writers can now think about what we might call an Integrated Content Environment (ICE).
These spaces let you manage multiple files, keep your style consistent, and allow AI to work with the bigger picture rather than one page at a time.
This guide will show you how to adopt this way of working so that your content is not just produced more quickly, but also to a higher standard.
Who is this for?
This guide is for anyone creating content who wants to make better use of AI tools and follow a process. You don’t need to be technical. If you’ve written in Google Docs, Word, or a CMS, you have the right starting point.
You’ll get the most out of it if you:
Write or edit a lot of content, whether that’s articles, guides, service pages, or product descriptions
Write a lot for the same entity (your business, a client’s business etc)
Want to use AI to support research, structure, and editing without losing the human voice
Are interested in working in a more organised way, where your content lives in a project rather than scattered documents
If you are already technical, you are welcome too. You may find sections like ‘What is Markdown’ too simple, and you can safely skip ahead; the process is designed so each part builds on the last.
What You Will Need
Cursor - https://cursor.com/
Ideally a Cursor pro subscription, but you can try the free version
Deep research
An AI tool that can perform Deep Research, such as Gemini or ChatGPT
Keyword research
A keyword research tool - something like Ahrefs or SEMRush
The example files
Why Cursor?
Why use an AI text editor like Cursor to write content? Why not just use Google Docs and ChatGPT?
Hopefully after having a go you will agree that using Cursor for content has many benefits:
Context persistence - cursor can “see” all your Markdown files and keep style consistent across them.
Inline editing - you edit text directly in the doc instead of copying in/out of a chat window.
Project-level memory - Cursor ‘rules’ tie AI context to one project, unlike a fresh chat each time.
Multi-file reasoning - Cursor can cross-reference multiple docs automatically.
Timeline safety - You can step back through AI changes instead of losing them.
One workspace - Docs, notes and content all live in the same environment, reducing context-switching.
This isn’t anything revolutionary, and I’m sure there are whole tools out there trying to do the same thing - content production in one place. This is just a version I really like using that saves me a lot of time and increases the quality of my research.
Prerequisites
Those New to Text Editors
If you are used to Word Processors such as Word or Google Docs, Text Editors like Cursor can feel unfamiliar.
On the left panel you see your files, in the middle panel you write, and AI chats are completed in context of the whole project on the right panel.
At first this can seem more complex, but actually once you get used to it you’ll realise it’s more simple.
The important thing to know is this: it works like a normal document editor, but instead of thinking in single documents, you are working with a project folder and can navigate through and edit any files in the project. Everything on computers is based on files, really, and it’s a better way to work once you get used to it.
This single view is also what allows the AI to help you more effectively - more on that later.
Those New to Markdown
We will be using Markdown to write content. If you know Markdown already, great.
If you don’t, this is a great time to learn - it is very simple and will quickly become your favourite way to write and take notes.
Markdown is just a way of adding a little bit of formatting to plain text.
Its files are saved as “.md” format.
You use simple symbols to make things bold, create headings, or add links.
For example:
A hash “#” at the start makes an H1 heading, two hashes “##” make an H2; and so on
Asterisks around text e.g. **word** makes the text bold
Square brackets followed by regular brackets e.g. [anchor text](https://example.com) creates a link
That’s it. No menus, no buttons. Just typing.
When you paste markdown into an editor that accepts it, it will do the formatting for you. No more highlighting headers and clicking H1.
The good thing is, Google docs now accepts markdown, which means we can copy and paste what we create in Cursor and share a Google doc with a writer, a client, another colleague etc for review. Super useful!
A full markdown cheat sheet can be found here.
1. The Process - Summary
I want to summarise the steps before the walkthrough starts, in order to give you context but also to show that there is a fair bit involved here.
This isn’t some magical automated process promising to fix all your content woes.
It’s a process to ensure quality when producing in volume.
If you’re looking for a cost-cutting process that spits out the whole thing for you, this isn’t it; and I wouldn’t recommend something like that anyway.
The summary:
Choose a content type e.g. evergreen, service page or blog
Within the type, you’re working on a topic
Do the deep research on the topic
Do keyword research on the topic
Do question research on the topic
Add your own context
Combine the research
Choose Agent mode in Cursor
Add the research files as context
Add your prompt and structure files as briefs
Generate the article with the prompt template
Now make it your own.
2. Setup
Cursor is not for content, it’s for coding. So, we need to set Cursor up in a way that benefits our content creation projects instead.
Once you have done this for the first time, you can use the same structure over and over for different entities. I have a folder for each of my clients for example, and each of my businesses.
We will use the example files I provide linked above, so you’ll need those.
Starting a Project
Obviously start by downloading Cursor.
If you’ve used VSCode before you’ll be used to this interface.
If you’re new to editors like this, open Cursor and you’ll be presented with a chat window on the right and the option to open a project in the centre that looks like this:
Click open project and open the example folder from wherever you saved it.
For a new project, you will create a blank folder that is a clean slate to use for that project. But I recommend checking out the example and using it as a starting point, as you will only really make the templates better from there.
The whole folder will open in Cursor and you’ll see the files on the left. This is where all of the stuff you are working on now lives.
Think about this as your central folder for this project only - each folder should be its own project. For me this means a folder for each client, a folder for each personal project etc. Usually I will just duplicate a current file then open that to start a new one.
Cursor Rules
As content creators, we want to use a few key features that make it more appropriate for writing content, rather than coding. Rules is the first thing we use.
Click the settings cog in the top right of Cursor.
In the screen that opens, click “Rules & Memories” on the left, then under “Project Rules” click “Add Rule”.
It will prompt you to name it, I usually just call it “project-rules”. Press enter to save and Cursor will create a new file which you can see under the rules folder on the left.
In this file is where we define our top level rules which define the AI’s behaviour. This is the best pace to add top level behavioural rules. Think about this file like a brand guidelines brief - what do we stick to each and every time?
In my provided example files you can see I have added a file called ‘project-cursor-rules-template’ with common things I am often telling AI to do. The advantage with Cursor is that we don’t need to keep prompting the AI, as the rules are injected into each prompt. Nice.
The default rules file Cursor produces will have some text in it already, just delete this and copy in the text from my project-cursor-rules-template file.
Then, edit the template. This should be obvious enough - customise your rules to your own project and brand.
Folder Structure
This is how I like to arrange the structure, but you can use your own once you get used to things.
Think of using your project to house multiple types of content.
Generally, you work on articles, service pages, evergreen pages etc etc. For each type of content, we want to have a ‘brief’ and a structure. It’s not often that you write multiple pieces of content that are totally unique in their structure.
I have used the exact folder structure I recommend in the example.
> Content type folder
> Topic folder
- content piece file
- deep research file
> Structures
> Structure for content type 1
> Structure for content type 2
In the example files it is based on whey protein as a topic. Delicious. And the type is evergreen (pillar, whatever).
The reason I structure it like this, is because you will probably have multiple topics within a single content type.
To add folders, click the little folder icon on the left sidebar.
Then, for each content type we want a ‘structure’ file.
What is a Structure file?
Where rule files are global project rules that are always taken into consideration, we use a Structure file like a structured brief for a content type that you can add to the chat at any time.
These are basically briefs for the content type.
The AI Chat Panel: Agent vs Ask
The final setup step is to take a look at your chat panel on the right hand side.
Here’s what to know when you first use it:
Switching models
At the top of the panel you can choose which AI model to use (GPT-4, Claude, Gemini, etc). Think of this as choosing which assistant you want to talk to.
Bigger models (like GPT-4 or Claude Sonnet) are usually better for writing but use more “tokens”.
Smaller models (like GPT-3.5 or “fast” options) are cheaper and quicker but less detailed.
I find GPT-5 best for content.
Ask vs Agent
Ask means: “Give me an answer or suggestion here in chat.”
Agent means: “Go and implement changes in my files for me.”
For generating a new piece, use the Agent mode. For asking questions about a current piece, use ask mode.
It’s important to note that agent mode will take over and make changes for you.
Context
The chat can see the files you have open or ‘pinned’. If you want the AI to focus on a specific file, you can ‘add as context’.
Tokens
Every word you type, and every word the AI sends back, counts as tokens. Long answers = more tokens. If you hit usage limits, it’s usually because of long conversations or choosing a bigger model.
You probably won’t have to worry about this, but I’d just make sure ‘max mode’ isn’t activated unless you want it to write something seriously long (20k+ words).
3. The Process - In Full
If you’ve set everything up correctly and are using the example files, this section should pretty much make sense as you go through each point.
Set Up Content Type & Topic
Choose a content type e.g. evergreen
Create a folder for your content type if you haven’t already
Edit the structure example with your own detail to make it a brief. You will keep reusing this, so get it just right.
Create a folder within the content type folder for your topic. This contains two files:
Your topic research document
Your (for now, blank) article document
Do the Research
Do the deep research on the topic
Use an external AI to do deep research on this topic
I like to use Gemini for deep research
Use the deep research prompt template to do research on the topic, or use your own
Do keyword research on the topic
Do your own keyword research using your tool of choice
You will need Ahrefs or SEMRush here or similar, or Google Ads keyword tool
Do question research on the topic
For “query-fan-out” it is good to get questions on the topic you have chosen, to make sure the AI covers essential questions that are related
I like to use AlsoAsked, but Ahrefs and SEMRush also let you sort by questions
Add your own context
Gather your own context from original thoughts, research, case studies or data
This is best for businesses when using actual insights from your area of expertise (think E-E-A-T)
Combine the research
Combine this information into a single document - your research document
There is a template in the examples for this
Now we have a big research document with tons of good stuff all in one place
Brief Cursor AI
Choose Agent mode in the Cursor chat panel
Make sure you add all the files mentioned above as context
To add as context, right click the file and select ‘add file to Cursor chat”
This should include:
Your research file
Your blank content file
Your content type structure file
The rules will already be attached
Copy the prompt template from the example file
Make sure to edit it with any of your own requirements
Press enter to submit
Cursor will generate your content.
Edit Your Content
The piece will be written, and if you’ve done everything right it will be extensive. You will still need to edit this and make it far superior to the computer’s effort!
The final step is to publish your content.
4. Publish
The purpose of using Cursor is to get to a point where you can follow a process and create quality content that is quality every time. Repeatable.
It still requires some manual bits though - we’re not just dumping keywords in and expecting the AI to churn out something “SEO optimised”.
So the final step is to copy your article from Cursor and paste it where you need to.
Ideally this is straight to your CMS, and most good modern CMS’s accept markdown so you can simply copy and paste your piece, edit it there or add it to a Google Doc to share with others for approval.
You’ll notice I haven’t mentioned anything about adding images. This is because this method is really just focusing on a repeatable, quality process for creating content. Imagery probably needs to be added afterwards, and most the time is added at CMS level anyway. I would love to hear if people have suggestions about how to incorporate images into the process.
I’m sure if you’ve produced content on any kind of scale before, you can see the value of this straight away: create a structure, refine it, keep refining it. As your brand grows so should the quality and depth of your content.
5. Project Backups
Backing Stuff Up
If you followed the instructions above, your files all live in one folder on your computer.
The easiest way to back this up is to just make sure that folder is synced to some sort of cloud; iCloud, GDrive, company T drive, whatever. Job done.
Of course, the beauty of working on a project level is that you can just zip up the files and send the lot to someone else.
You could start this process yourself, then allocate it to a team member and send your files to them alongside this tutorial. That way they have the same structure and rules to ensure quality.
Version Control (Git)
For those familiar with Git and GitHub, you can probably already see how using them could be useful for your project.
I’m not going to add a tutorial here for this, I think it may be overkill. But if you are genuinely interested in it, do let me know and I will add it in to a future version.
Thanks for Reading
If you’ve made it this far thank you for checking this out, I hope you found it as useful as I do. It’s far from perfect, and as with anything like this, I am constantly trying to improve. So I’d welcome any suggestions - give me a shout through contact form, LinkedIn or X.